The Interior Design Blog
How to Build a DIY Murphy Bed with Storage
Picture this: You’re working from your tiny flat’s only “living room”, and by evening, it magically transforms into your bedroom. No shuffling furniture, no eyesore of a clunky bed in the middle. Just function and freedom.
That’s the genius of a Murphy bed with storage — a practical, stylish, and downright clever space-saving bed project you can build yourself. Whether you’re maximising a studio flat, creating a dual-use guest room, or just craving more floor space, a DIY bed storage solution offers a massive upgrade without renovating.
Understanding the Core: What Is a Murphy Bed with Storage?
A Murphy bed (also known as a wall bed) is a bed that folds up vertically into a cabinet or wall recess when not in use. It’s perfect for small spaces because it disappears during the day, opening up the room.
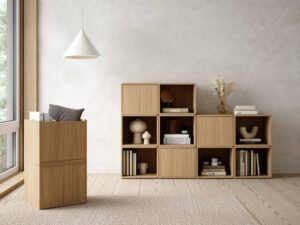
Now add storage — drawers, shelves, or cabinets built into the base or sides — and you’ve got a multifunctional marvel. You’re not just reclaiming floor space; you’re turning every square inch into smart living.
Why build it yourself?
- Customise the design to fit your needs
- Save money compared to store-bought versions (which can run £1,000+)
- Learn skills that build confidence in your DIY journey
In fact, many renters and homeowners alike are embracing projects like these to increase function without permanent changes. According to Houzz UK, multifunctional furniture is one of the top trends in small-space living this year.
Quick Guide: DIY Murphy Bed with Storage
- Choose the bed size and wall location.
- Gather materials (plywood, lumber, hardware kit).
- Build the bed frame and base storage unit.
- Assemble the folding mechanism securely.
- Finish and paint for a seamless look.
- Anchor the unit to the wall for stability.
- Add a mattress and test the operation.
Step-by-Step Guide: Build Your Murphy Bed with Storage
1. Plan the Space and Select a Design
Start by choosing the bed size:
- Single or double for most flats
- Measure the available wall height and ceiling clearance
- Choose a vertical or horizontal fold based on your space
There are many DIY Murphy bed designs online, but opt for one with a lift-assist kit and optional side storage plans.
Pro Tip: Use masking tape to mark the bed’s footprint on your floor to visualise the space when it’s down.
2. Gather Your Materials and Tools
Here’s a basic list (adapt as needed):
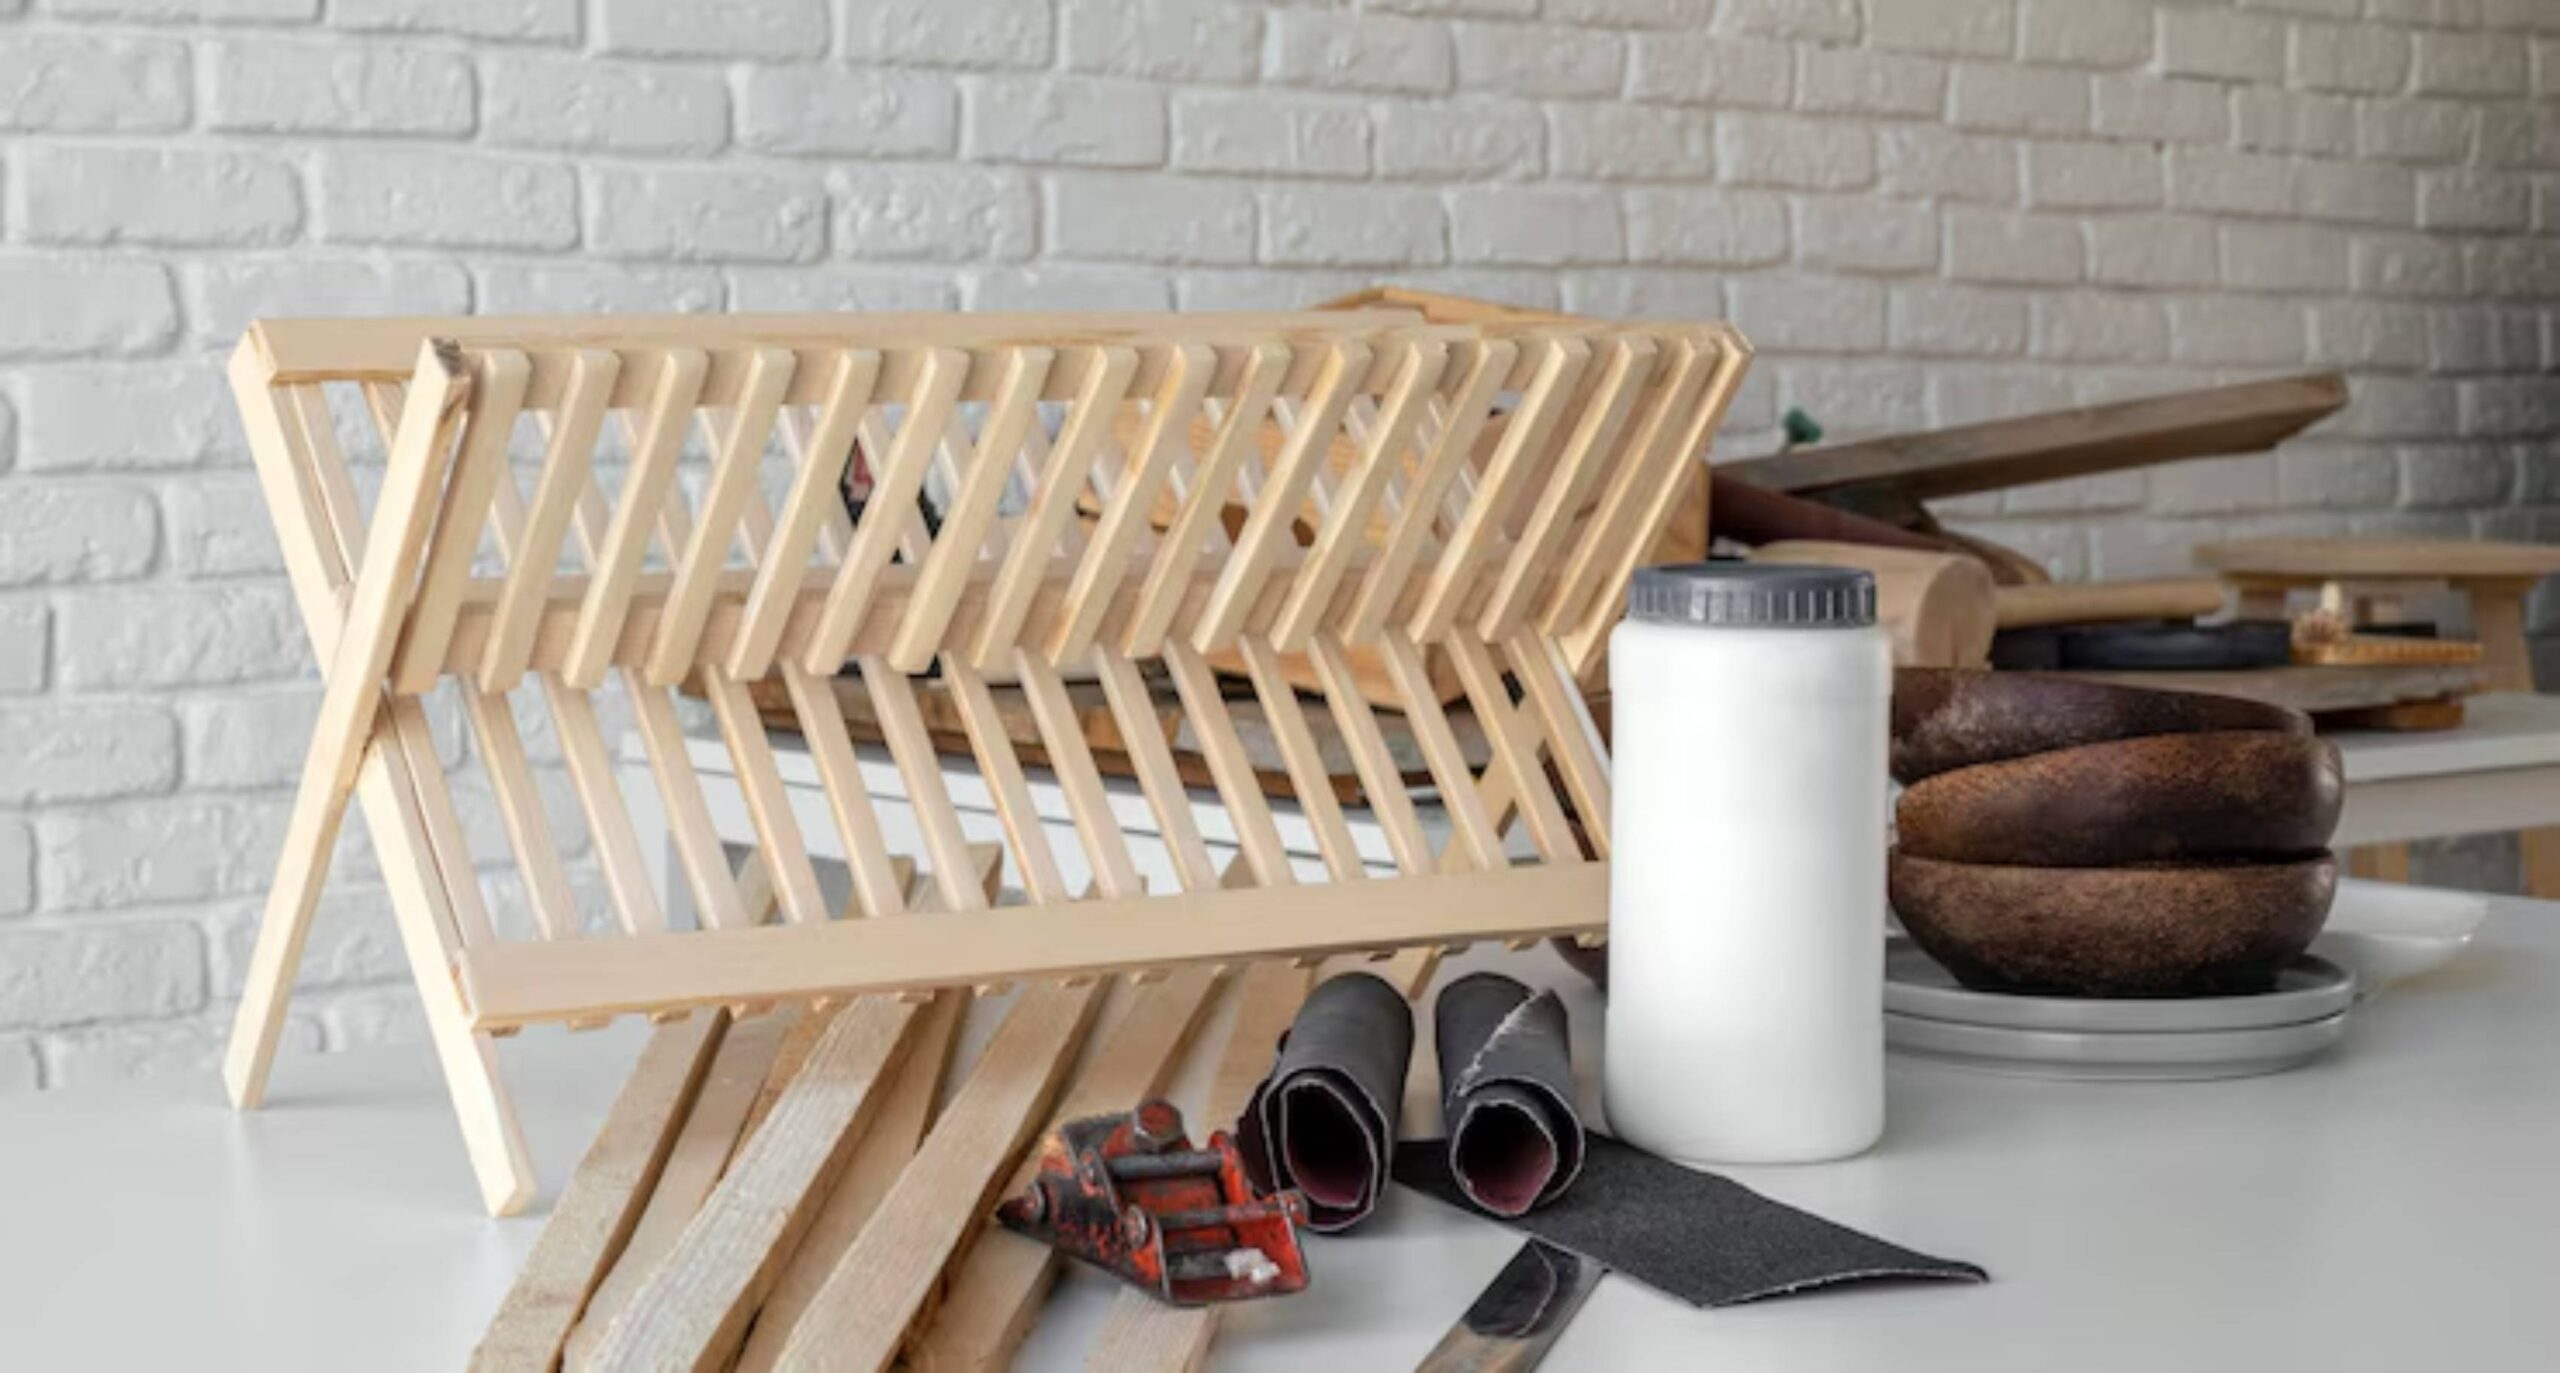
- white container
- Wooden drying rack
- Pine or MDF for trim and base storage
- Murphy bed hardware kit (includes piston lift and brackets)
- Screws, hinges, brackets, wood glue
- Drill, circular saw, sander, level, stud finder
- Paint or wood stain
Important: Buy your mattress before finalising dimensions. Standard mattress thickness affects folding clearance.
3. Build the Bed Frame
- Cut the plywood for your mattress platform (match to size)
- Create a sturdy rectangular frame with cross-bracing
- Attach side rails to contain the mattress securely
This part forms the moving panel that will fold vertically.
4. Construct the Storage Base or Side Units
Choose one or both:
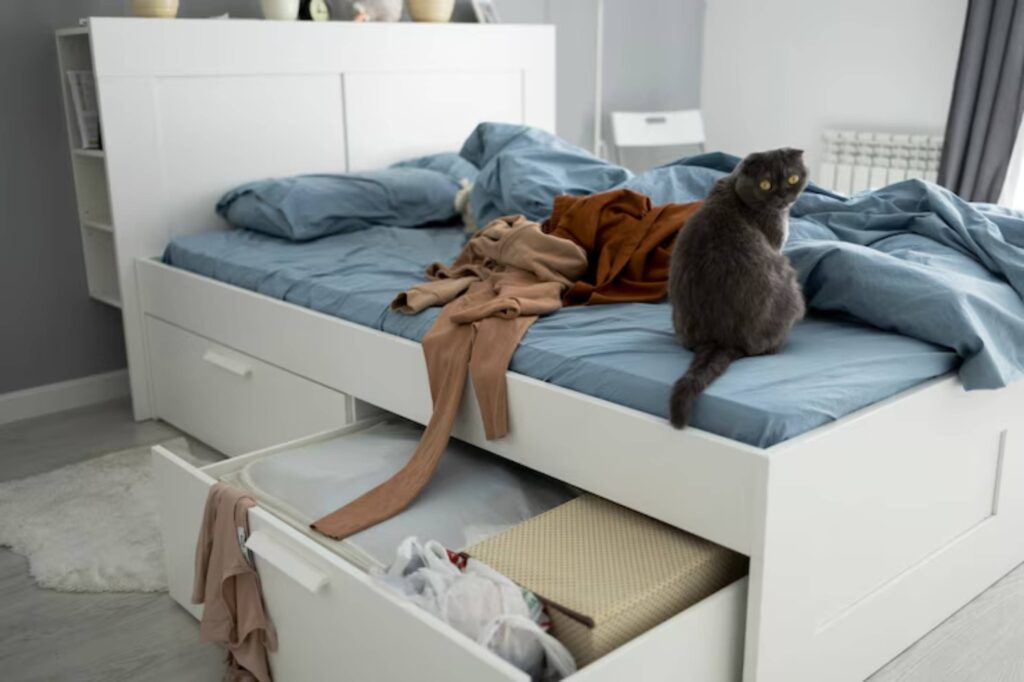
- Under-bed drawers: Great for seasonal clothes or linens
- Side shelves or cabinets: Store books, decor, or even a workspace
Construct with matching wood, using drawer slides or shelf pins for adjustability.
For more ideas on integrating smart dual-use furniture, see top convertible furniture pieces for tiny apartments.
5. Install the Lift Mechanism and Hinges
Follow the manufacturer’s instructions from your Murphy bed hardware kit. Typically involves:
- Mounting pivot brackets to the wall
- Attaching pistons or springs to support the frame’s weight
- Securing the frame to the pivot
Important: Always mount into wall studs or masonry, not just plasterboard.
6. Secure the Cabinet to the Wall
Encase the frame in a cabinet or faux wardrobe, look fora finish:
- Build a simple plywood box around the frame
- Add doors or moulding for a furniture-style finish
- Attach securely to the wall at the top and sides
Pro Tip: Choose shaker-style trim or painted MDF for a modern look that hides the mechanics.
7. Paint, Finish, and Add the Mattress
- Paint or stain your build based on decor
- Add handle straps or latch systems for easy folding
- Insert the mattress and test the fold
Important: Use hook-and-loop straps or mattress clips to hold it in place when vertical.
Best Practices & Additional Insights
Use Real-World Efficiency Rules
Think beyond the bedroom. A horizontal Murphy bed can work in a home office or kids’ playroom. For example, Daniel — a freelance illustrator in Bristol — turned his second bedroom into a part-time guest suite with a Murphy bed tucked behind a curtain and drawers built below.
Add Soft-Open Hardware
Many Murphy bed kits now include soft-close or dampened pistons, so your bed won’t slam or jolt.
Incorporate Hidden Charging or Lighting
Install a plug socket inside the frame base for reading lights or phone chargers. Route the socket safely.
Looking for smaller but equally clever space savers? Check out ottomans and coffee tables that Closet Organisers.
FAQs

- Is a DIY Murphy bed safe to use daily?
Yes, if properly built and anchored into wall studs, DIY Murphy beds are safe for regular use. - What’s the average cost of building one?
Most builds range from £200–£500, depending on materials and if you use a ready-made lift kit. - Can I make one without power tools?
While basic cuts can be made by hand, a circular saw and drill make the process smoother and more accurate. - Will it damage my rental walls?
Possibly. You’ll need to anchor into studs, which may leave holes. Consider landlord permission or removable alternatives. - How long does it take to build a Murphy bed with storage?
If you work on weekends, expect 2–3 full days for construction, painting, and installation.
Build Smarter, Sleep Better: Your Space-Saving Solution Awaits
Building a DIY Murphy bed with storage is more than just a project — it’s a game-changer for small-space living. With careful planning, a few tools, and some creativity, you can create a multifunctional hub that works around your lifestyle, not the other way around.
So, whether you’re living solo in a micro-flat or hosting guests in a shared space, now’s the perfect time to reclaim your floor, reduce clutter, and enjoy a bed that disappears when you need room to live.
Inspired? Share your Murphy bed transformation, or subscribe for more practical DIY storage builds made for real homes.


YOU MAY LIKE